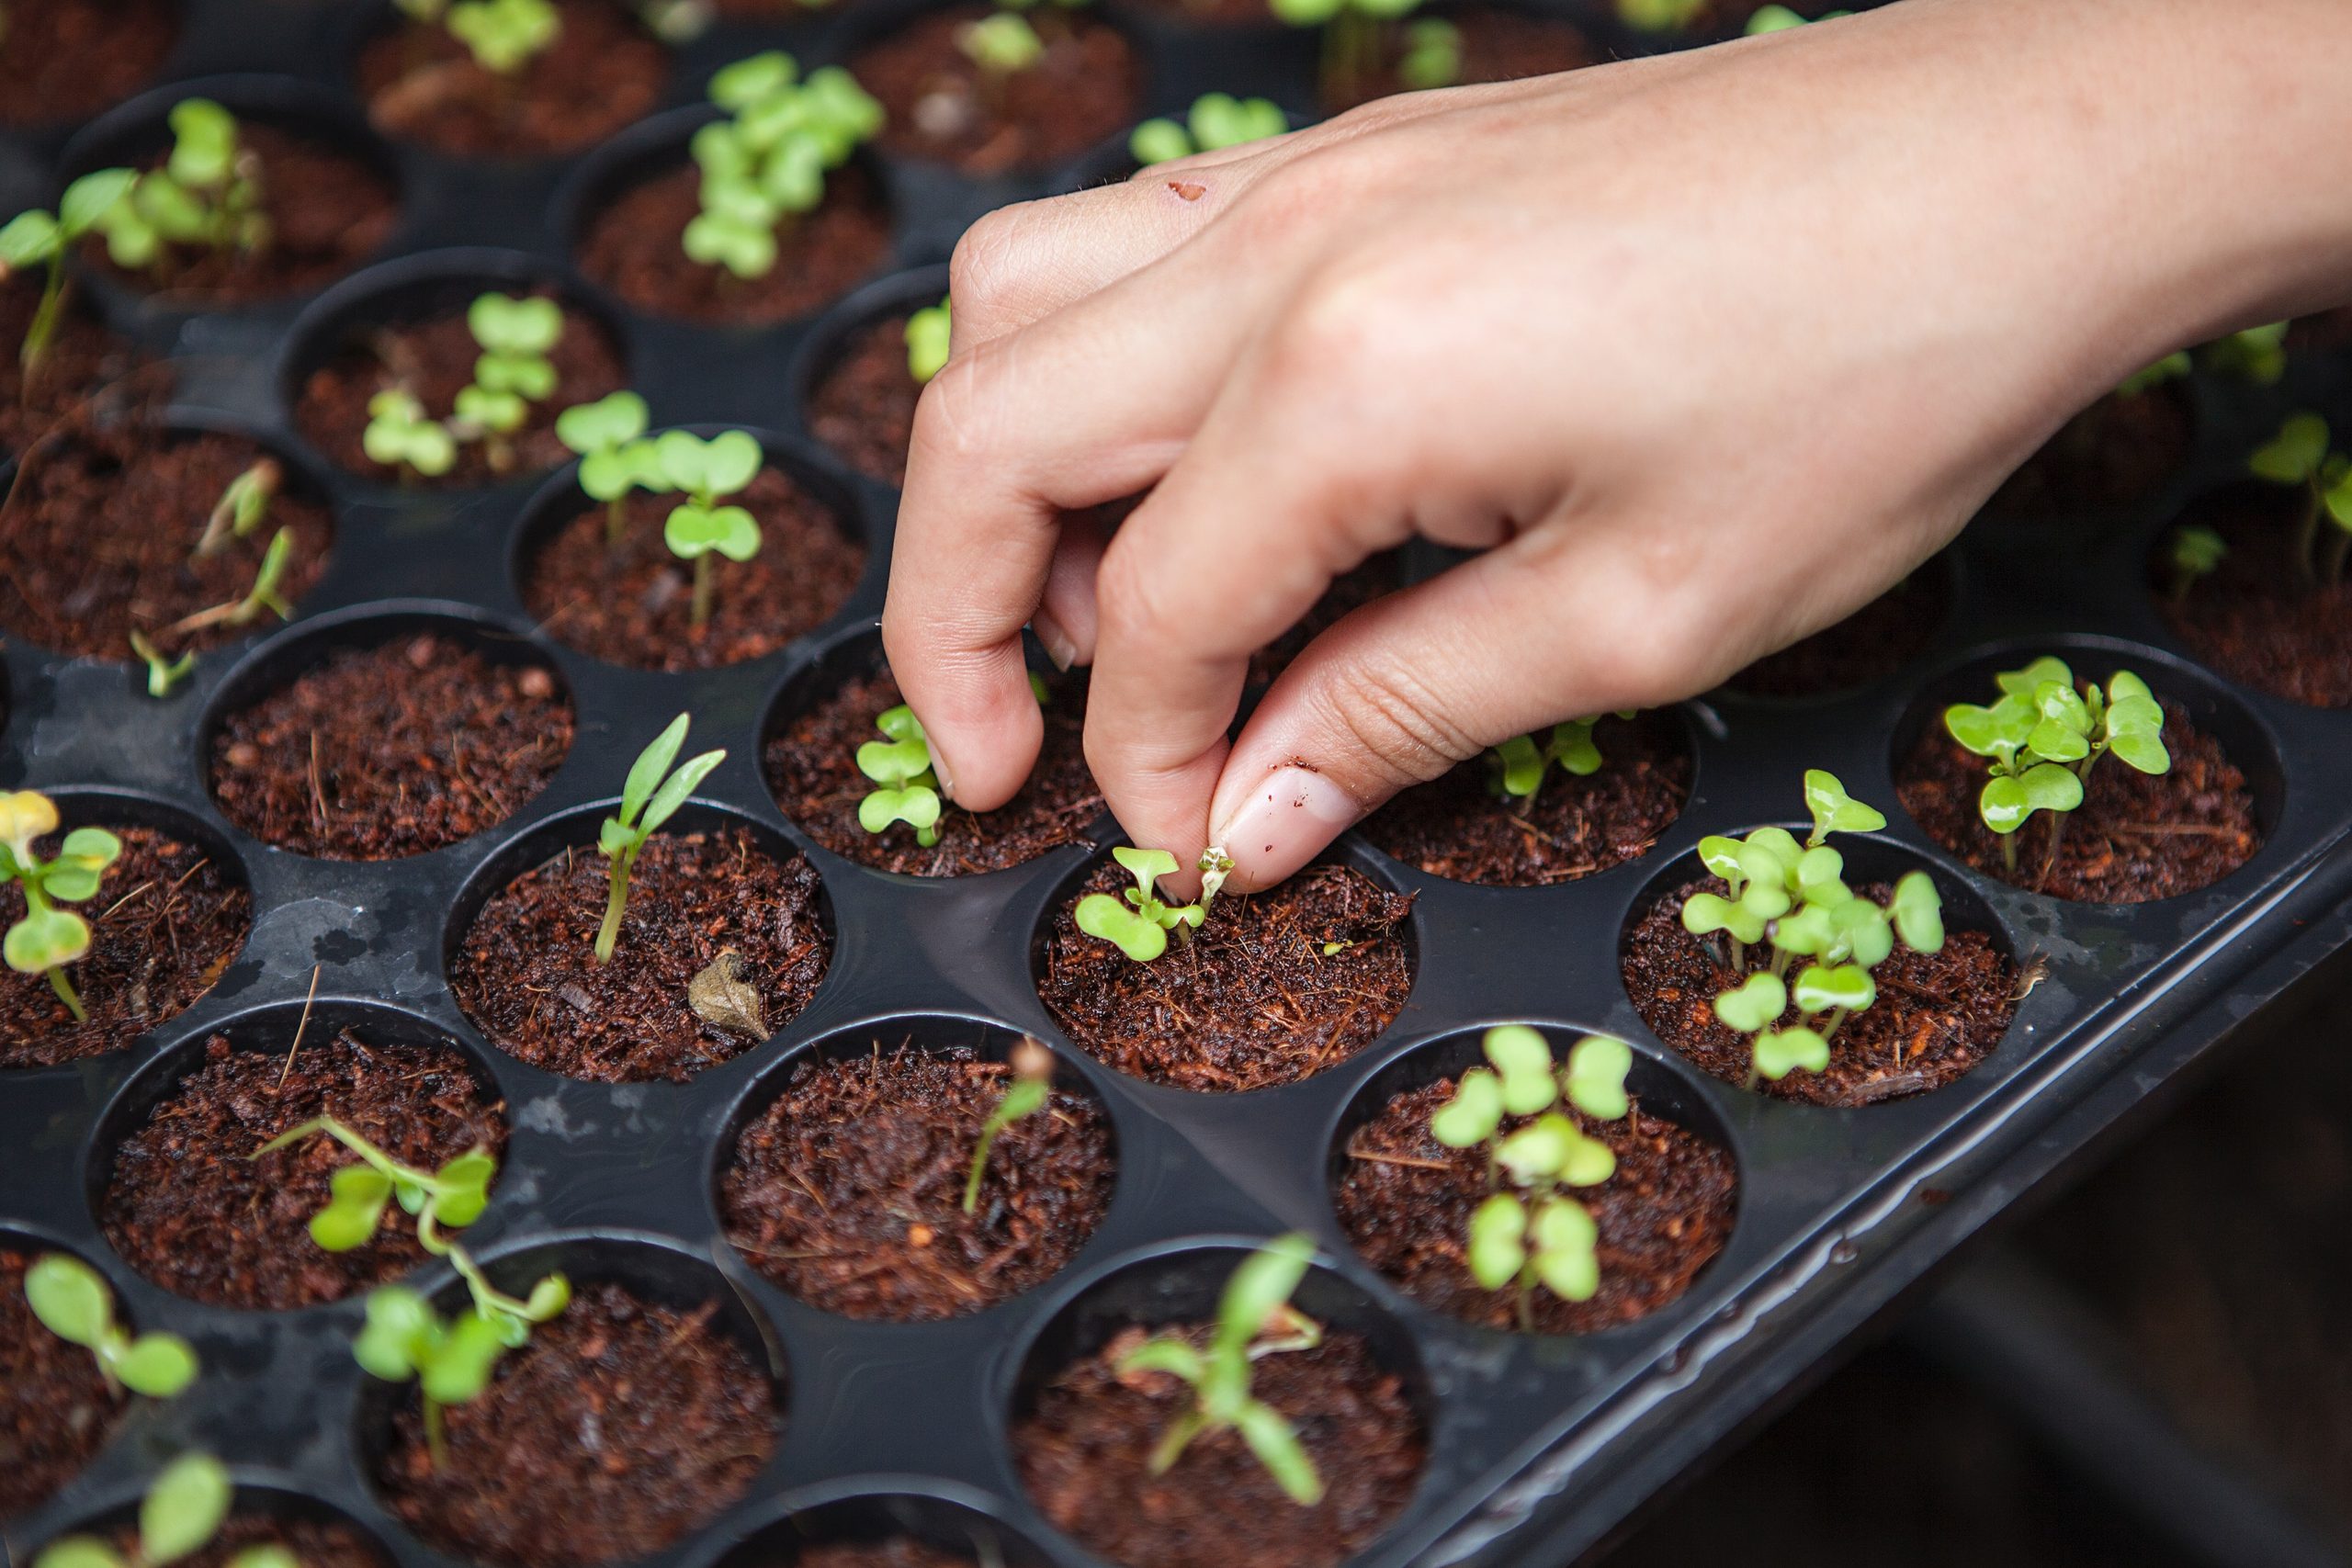
Extra seed packets in your garden bin? Dust them off and see if they are up for sprouting this spring!
What You Need:
- Egg Carton, Plastic Cups, Yogurt Containers, etc. (cleaned)
- 1 Pin or Thumbtack
- Baking Sheet
- Germination Potting Soil Mix (can be found at McGuckins or garden supply stores)
- Seeds (you can order online or check at the grocery store)
- Popsicle Sticks
- Pen

- Select your seeds. If you select seeds for cold-hardy plants, you will be able to transfer the starter plant outdoors sooner. If the seeds are not for cold-hardy plants, you will have to wait until after the last frost before planting. Reference the back of each seed packet for this information, as it varies from seed to seed. In general, greens, peppers, tomatoes, broccoli, cabbage, kale, chard, and eggplant are great things to start right now. Peas and root veggies, such as radishes, carrots, beets, and turnips, don’t love to be transplanted at all and would be happier just to be seeded outside now.
- With your pin or thumbtack, poke several small holes in the bottom of each egg slot. This will allow for proper drainage. Place egg carton onto a baking sheet to collect runoff water. Fill each egg slot half full with moistened potting soil.
- Write the name of each seed type on a popsicle stick. These can be easily placed into the egg slots with the growing seed. Once you transplant the seedling to your garden, the label stick can get planted too!
- Generally, plant one seed per egg slot. Fill the slot with moistened soil and then make a hole to the depth stated on the back of the seed packet. Place the seed in the hole and use your finger to pinch the soil and cover the seed. Then, pat down gently. Place your popsicle stick labels next to the appropriate seeds. When you are finished planting the whole carton, gently water the soil generously. Cover your starts with plastic wrap to create humidity. Place the tray in indirect light and in a warm area (such as on top of a refrigerator). You want to create an environment of around 65-85 degrees.
- Check your plant starts daily and watch the magic happen as leaves begin to sprout! If the soil is drying, water is needed. Once sprouted, remove plastic wrap and place the tray in more direct sunlight. At this point, you could also use a grow light (15 hours of grow time max per day – even seedlings need to rest!). Check that soil is moist, and water as necessary. Once the stems start to show their second set of leaves, ‘true leaves,’ it is time to transplant into larger individual pots, so that the roots have room to grow.
- Using larger pots, such as clean yogurt containers or plastic cups with holes poked in the bottom, gently transfer one seedling, in its soil, into a pot filled with more moistened potting soil. Place pots in indirect light for three days to allow them to acclimate to their new environment. After this time, place back to direct sunlight. Water as needed.
- Plants that are about 3-4 inches tall, with their true leaves, will be ready to transfer. Remember that some starters will need to wait to be planted until after the last frost. You can always double check the back of the seed packet for each seed’s planting guide. Before outdoor planting, begin to harden off your plants by placing them outside for the day and bringing them back inside at night. After hardening them off for a week, you are now ready to plant outdoors!
